How to Automate Client Inquiries and Onboarding - Step by Step Guide
A potential client fills out your contact form on a Friday night. You see it Monday, after a full morning of client calls, and by the time you've written a thoughtful reply and dug up your booking link it's Tuesday afternoon... and they've already booked a call with someone who answered first. Or maybe the lead does say yes, and you spend the next three days copying their details into four different places, hunting down the welcome email you sent your last client, and realizing halfway through the week that you never sent the intake form. None of that is the work you're actually great at. It's the front door of your business, and right now you're the one standing at it all day.
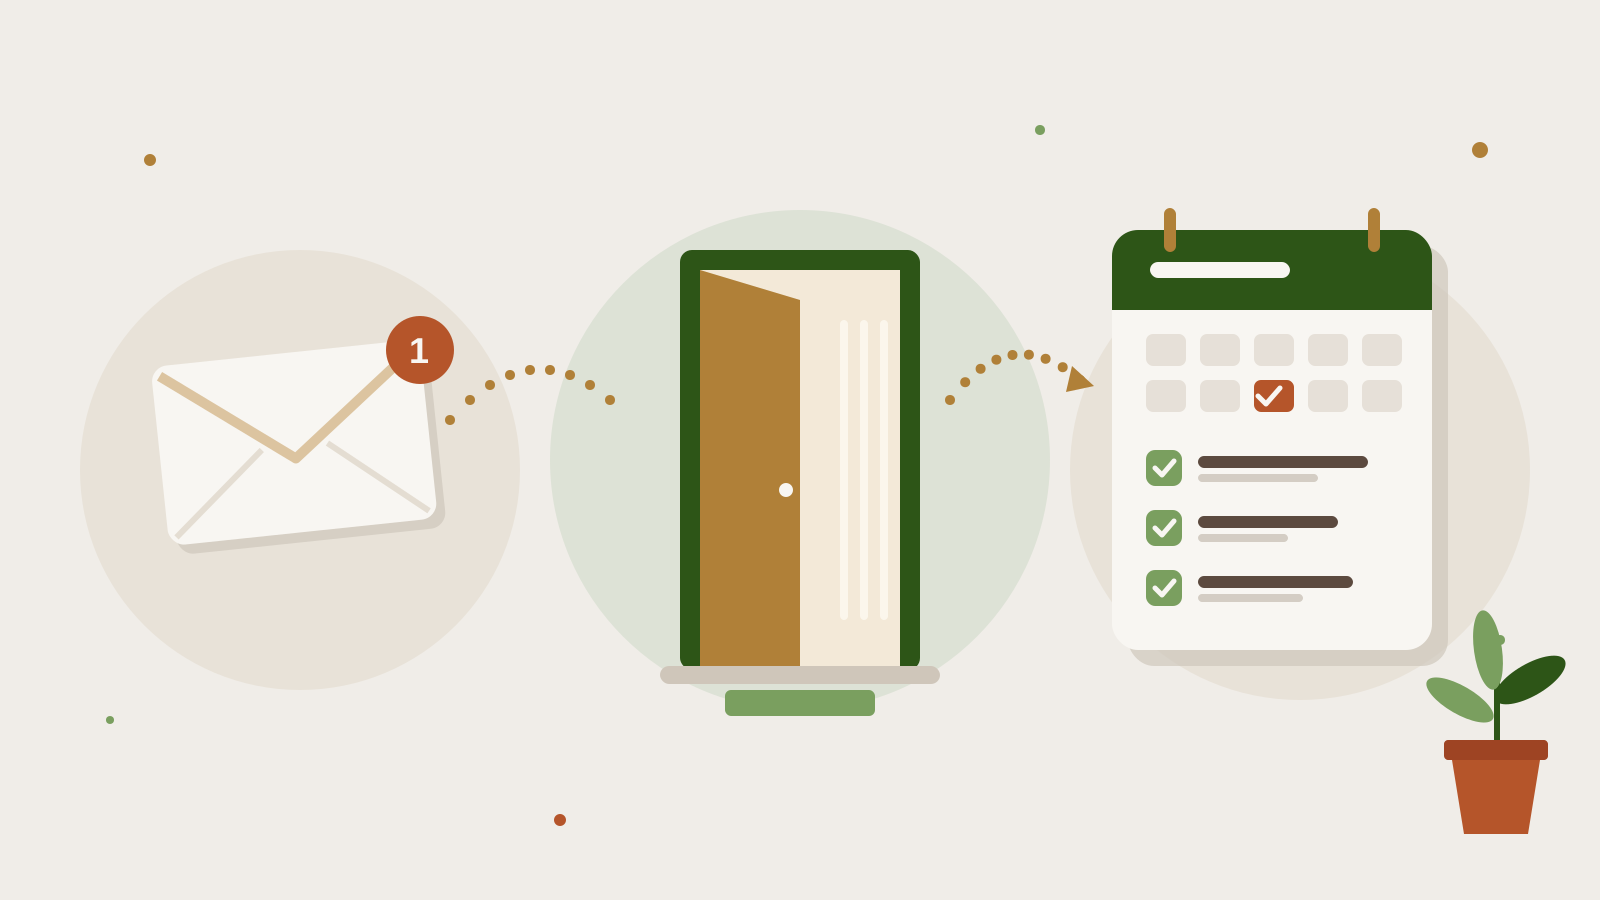
This is Part 1 of our three-part series on making your business run without you, one automation at a time. Today we're automating the two moments where first impressions get made: when someone reaches out, and when someone says yes. Each one comes in two versions, a Hands-Free Starter if tools and automation are new to you, and an Invest & Scale option if you're ready to put real tools to work.
Before you build: have these two emails ready
Automation runs what you give it, so write these first:
Your inquiry reply: a short thank-you, what to expect next, and your booking link.
Your welcome email: what happens next, your intake form, and a link to book your kickoff call.
Don't want to start from a blank page? Both are in our free Automation Starter Kit, linked at the end of this post.
Automation 1: New inquiry → booked call
Trigger: someone reaches out. Action: they get a warm reply with your booking link right away, whether you're in a meeting, on a day off, or asleep.
The Hands-Free Starter (free, using Gmail)
You'll need: a Gmail or Google Workspace account and a free booking link.
Get a booking link. Calendly's free plan gives you one event type and sends booking confirmations and basic reminders for you. Google Calendar's appointment schedules also give you a free booking page, though email reminders need a paid Google subscription.
Turn on Gmail templates. Click the gear icon → See all settings → Advanced tab. Next to Templates, select Enable, then click Save Changes.
Save your inquiry reply as a template. Compose a new email with your reply and booking link. Click the three dots at the bottom → Templates → Save draft as template → Save as new template, then give it a name.
Create a filter that sends it. Go to Settings → Filters and Blocked Addresses → Create a new filter. Tell Gmail how to spot an inquiry, like the address it's sent to ([email protected]) or a subject line your contact form always uses. Click Create filter, check Send template, choose your inquiry reply, and click Create filter again.
Test it. Send an inquiry from a different email address and make sure the reply lands where it should.
Good to know: Gmail replies to whoever sent the email. If your website form's notifications come from your website platform instead of the person, the reply will go to the platform, not your lead. In that case, check your form settings for a built-in confirmation or autoresponder email and paste your reply there instead. Gmail templates also only work on the Gmail website, not the mobile app, and at this level, following up with people who don't book is still on you.
Invest & Scale (GoHighLevel)
You'll need: a customer relationship management (CRM) tool with workflows. We're using GoHighLevel here, and tools like HoneyBook and Dubsado follow the same idea.
Keep your inquiry form and booking calendar in one place inside GoHighLevel, so the workflow can see both.
Start a new workflow. Go to Automation → Workflows and create a new workflow from scratch.
Add the trigger. Click Add New Trigger → Form Submitted. Add a filter so Form is your inquiry form (left blank, it fires on every form in your account), then click Save Trigger.
Send the reply. Add a Send Email action with your inquiry reply and booking link. Use the first-name field so it reads like you wrote it to them.
Wait, then follow up. Add a Wait step (two to three days is a good place to start), then a second Send Email with a short, friendly "still want to chat?" note.
Skip the follow-up for people who book. Add a Goal Event at the end of the workflow, set to Appointment Status for your discovery call calendar. When someone books, they jump straight to the goal and never get the nudge.
Test, then publish. Click Test Workflow, then switch the toggle to Publish and click Save.
Automation 2: "Yes!" → onboarded client
Trigger: a client pays. Action: they're welcomed, sent your intake form, and invited to book their kickoff call, without you sending a thing.
The Hands-Free Starter (free, using a Stripe payment link)
You'll need: a Stripe account (no monthly fee, just Stripe's processing fees per payment), a free intake form like Google Forms, and a welcome page.
Build a simple welcome page. A page on your website (it doesn't need to be in your menu) with a thank-you, what happens next, your intake form link, and your kickoff booking link.
Create a payment link for your offer. In your Stripe dashboard, go to Payment Links and create a new link, or edit the one you already use.
Send people to your welcome page. Click After the payment. Under Confirmation page, choose to redirect customers to your website and paste your welcome page link. No website? Choose a custom confirmation message instead and put your intake form and kickoff links right in it.
Turn on automatic email receipts in your Stripe settings, so the receipt goes out without you.
Test it. Run a test payment in Stripe's test mode and make sure you land on your welcome page.
Invest & Scale (Zapier + the tools you already use)
You'll need: Stripe, Zapier, Google Drive, and Gmail. Multi-step Zaps like this one need a paid Zapier plan. The free plan allows one trigger and one action per Zap (up to 100 tasks a month), so on the free plan, just send the welcome email.
Create a new Zap in Zapier.
Trigger: Stripe → Checkout Session Completed, which fires when someone pays through a Stripe payment link. Connect your account and pull in a test payment.
Action 1: Google Drive → Create Folder. Name it with the client's name from the Stripe data, and put it inside your main Clients folder.
Action 2: Gmail → Send Email. Send it to the client's email from Stripe, using your welcome email with the intake form, kickoff link, and their new folder link.
Action 3 (optional): add a task in your project management tool, like "Prep kickoff for [client name]," so nothing slips on your side either.
Test each step, then publish.
What still needs you
Automation handles the steps that are the same every single time. It doesn't replace reading their intake answers before kickoff, the personal note when something in an inquiry stands out, or the call itself. That's the part only you can do... and now you'll actually have time for it.
Where to start
If leads are slipping through the cracks, start with Automation 1. If onboarding is eating your week, start with Automation 2. Pick one, build it, and let it run for a couple of weeks before you add anything else. Next Monday in Part 2, we're tackling the money side: invoices, payment reminders, and wrapping up projects so the testimonial ask never slips again.
Get the free Automation Starter Kit. It includes the Automation Map to plan your triggers and actions, plus copy-and-paste templates for the inquiry reply and welcome email you just set up. Get your free kit.
From our founder:
Sign up for our newsletter! It's where I share the stuff that doesn't make it to the blog. You'll get the real behind-the-scenes, the lessons before they're polished into a post, and the news you'll hear from me first. Every once in a while, I'll drop a perk or a freebie in there before anywhere else. If that sounds like your kind of insider access, join the newsletter.



How to Make Your Business Run Without You, One Automation at a Time
Wildiah Edouard Published on: 19/10/2026Make your business run without you, one automation at a time. A free 3-part series of step-by-step automations you can set up yourself.